Deploying your Rails 5 apps to Dokku - Part 1


In this tutorial we will be using a DigitalOcean Droplet to install and run dokku and deploy a Rails app to it.
After reading this tutorial, you will be able to:
- Set up a DigitalOcean droplet using dokku
- Install a dokku plugin to run your database
- Deploy a Rails app to your server and automatically run migrations
- Set up SSL with Letsencrypt
DigitalOcean
I'm a big fan of DigitalOcean because of their Open Source friendliness and easy setup. They also provide excellent documentation for the most common tasks.
You can get a $10 DigitalOcean credit by signing up with the link provided here.
I suggest following their excellent "How to create your first DigitalOcean droplet" setup tutorial. Once you've set up your droplet, continue with the next section.
For the purpose of this tutorial, I suggest chosing at least the $10/mo droplet on a Ubuntu 16.04 (or newer).
Connecting to your droplet
In order to connect to your droplet via SSH, open a terminal window and connect to your droplet, like this:
ssh root@your-droplet-ip
Installing Dokku
These days Heroku has become an industry default when deploying and running apps. For small businesses and developers it can however often be an expensive undertaking. Dokku provides you with a toolkit to host and run your own infrastrucure in a very similar way to Heroku.
Install the latest stable Dokku release:
wget https://raw.githubusercontent.com/dokku/dokku/v0.10.5/bootstrap.sh
DOKKU_TAG=v0.10.5 bash bootstrap.sh
This will install a lot of dependencies, including Docker which Dokku is going to orchestrate for you. It also starts a web interface which will let you finish the set up. Go to http://your-droplet-ip in order to access it.
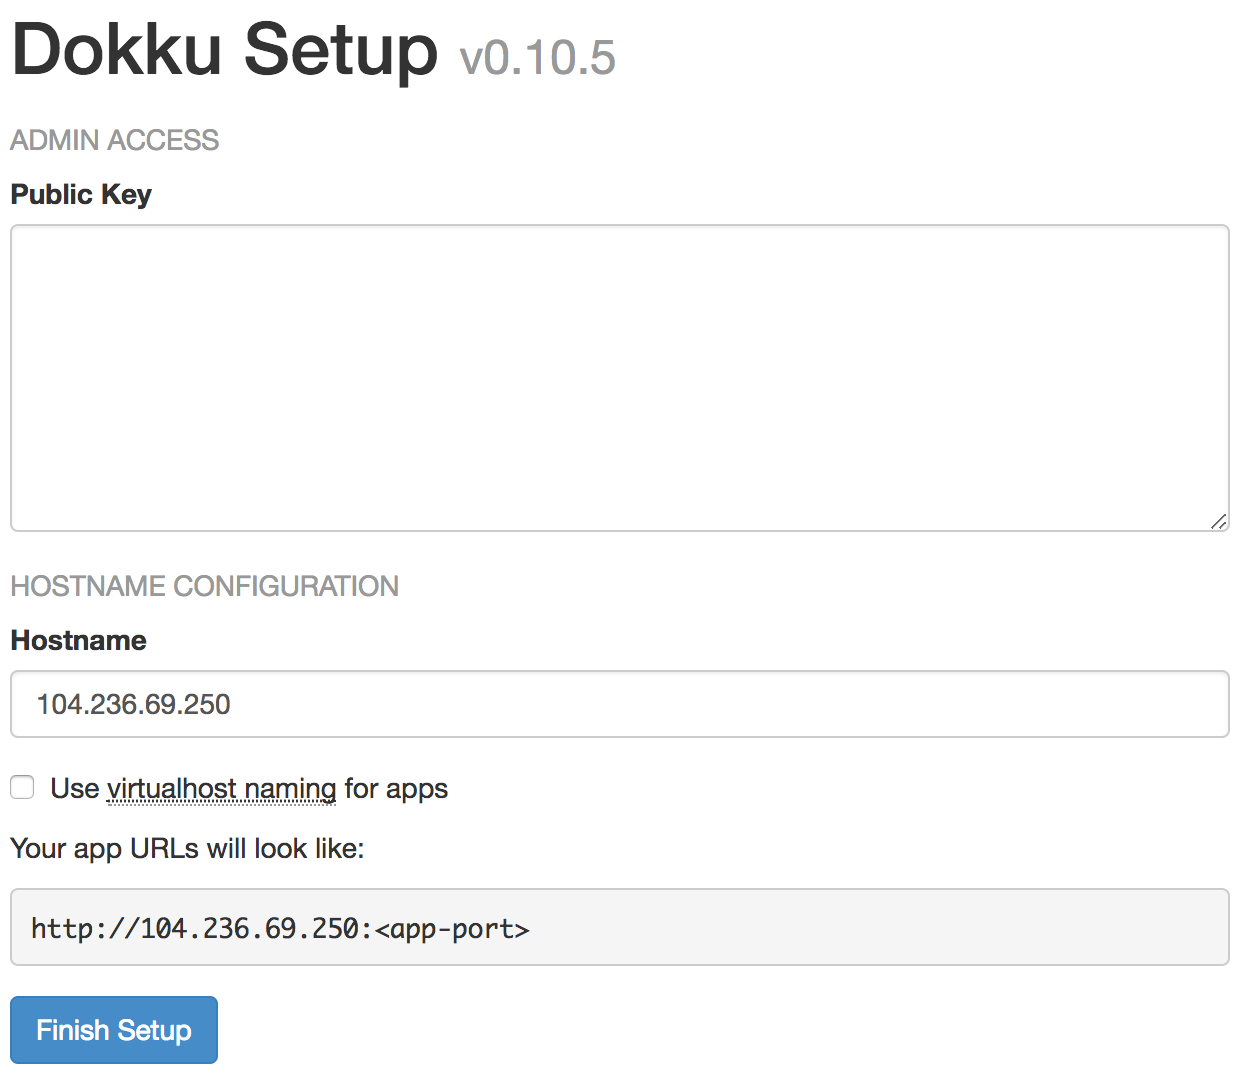
Feel free to just hit "Finish Setup" here.
Create your dokku app
In order to create your first app with dokku you can use the dokku cli.
dokku apps:create my-app
Not good with names or miss heroku's name generator? Fear not! You can use this website to generate amazing names like falling-fire-5543.
Now that we have successfully created our first app it's time to add a database. In this tutorial we are going to use Postgres.
Add a postgres database
Gladly dokku provides an official Postgres plugin that we can use:
dokku plugin:install https://github.com/dokku/dokku-postgres.git postgres
Do note that the plugin is still in beta. I've personally found it to be working well for my needs. It even comes with an automatic way of backing up your postgres instance to S3.
Now let's create a new database instance:
export POSTGRES_IMAGE_VERSION="10.0"
dokku postgres:create my-app-production
This will instantiate a new Postgres 10.0 instance. In order to use this new instance we need to link it to our app:
dokku postgres:link my-app-production my-app
Note: This will restart your app. However, since we've not yet deployed our app this should be no problem.
Linking the database instance to your app will add an environment variable. You can view this by calling dokku config for your app:
dokku config my-app
You should see an environment variable called DATABASE_URL on your app. We will use this variable in our Rails application to connect to the database server.
Create a new Rails App
Everything in this section is run locally and not on your dokku install!
Let's start by creating a new rails app with postgresql as our default database:
rails new my-app --database=postgresql
This will create an empty Rails app. Run rails db:create to create your app's development and test databases (this is assuming you have postgres running locally - check out Postgres.app if you don't).
As mentioned earlier, dokku has added an environment variable with the database connection string for us. We need to make sure Rails will use the environment variable when running in production. Open up config/database.yml, find the production: section and change it to:
production:
  <<: *default
  url: <%= ENV['DATABASE_URL'] %>
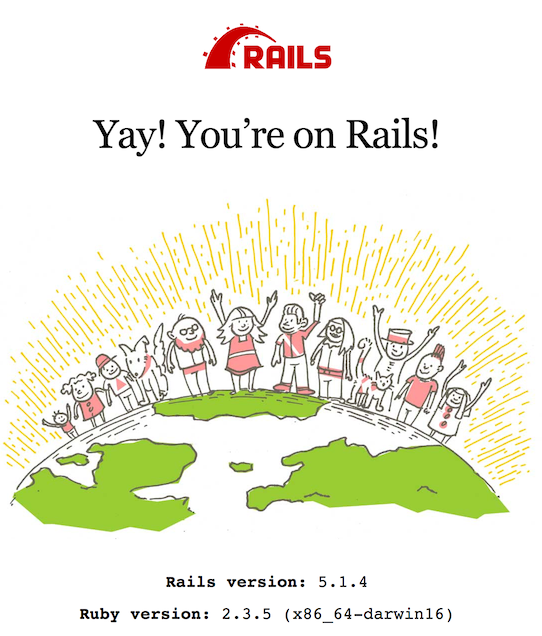
Finally, let's make sure that our Rails app boots correctly by running rails s. You should see output confirming that the app is running locally on port 3000. Head over to http://localhost:3000.
You should see the Rails welcome page:
Make sure to commit all your local changes to the git repo:
git add -A
git commit -m "Initial commit"
Deploying to Dokku
Now that we're all set we can finally deploy to dokku. First, we need to add our dokku instance as a git remote. Yep, your read that right - dokku acts as a git remote.
git remote add dokku dokku@your-droplet-ip:my-app
Now we can deploy by pushing to the new remote:
git push dokku master
You should see logging output from dokku as it is going through the steps of installing your app's dependencies.
git push dokku master
Counting objects: 84, done.
Delta compression using up to 4 threads.
Compressing objects: 100% (70/70), done.
Writing objects: 100% (84/84), 21.70 KiB | 0 bytes/s, done.
Total 84 (delta 2), reused 0 (delta 0)
-----> Cleaning up...
-----> Building my-app from herokuish...
-----> Setting config vars
       CURL_CONNECT_TIMEOUT: 90
-----> Setting config vars
       CURL_TIMEOUT: 60
-----> Adding BUILD_ENV to build environment...
-----> Warning: Multiple default buildpacks reported the ability to handle this app. The first buildpack in the list below will be used.
       Detected buildpacks: ruby nodejs
-----> Ruby app detected
-----> Compiling Ruby/Rails
-----> Using Ruby version: ruby-2.3.4
-----> Installing dependencies using bundler 1.15.2
       Running: bundle install --without development:
       [..]
-----> Attempting to run scripts.dokku.postdeploy from app.json (if defined)
=====> Application deployed:
       http://your-droplet-ip:port
Two things of note here:
- Dokku automatically detects our Ruby app and runs
bundle installfor us. - Our app is booted and runs on a non-privileged port
You can now go to the URL in the output and see your app running.
In part 2 of this series we will talk about:
- How to automatically run migrations
- How to add a domain name to your app
- How to add SSL using Letsencrypt